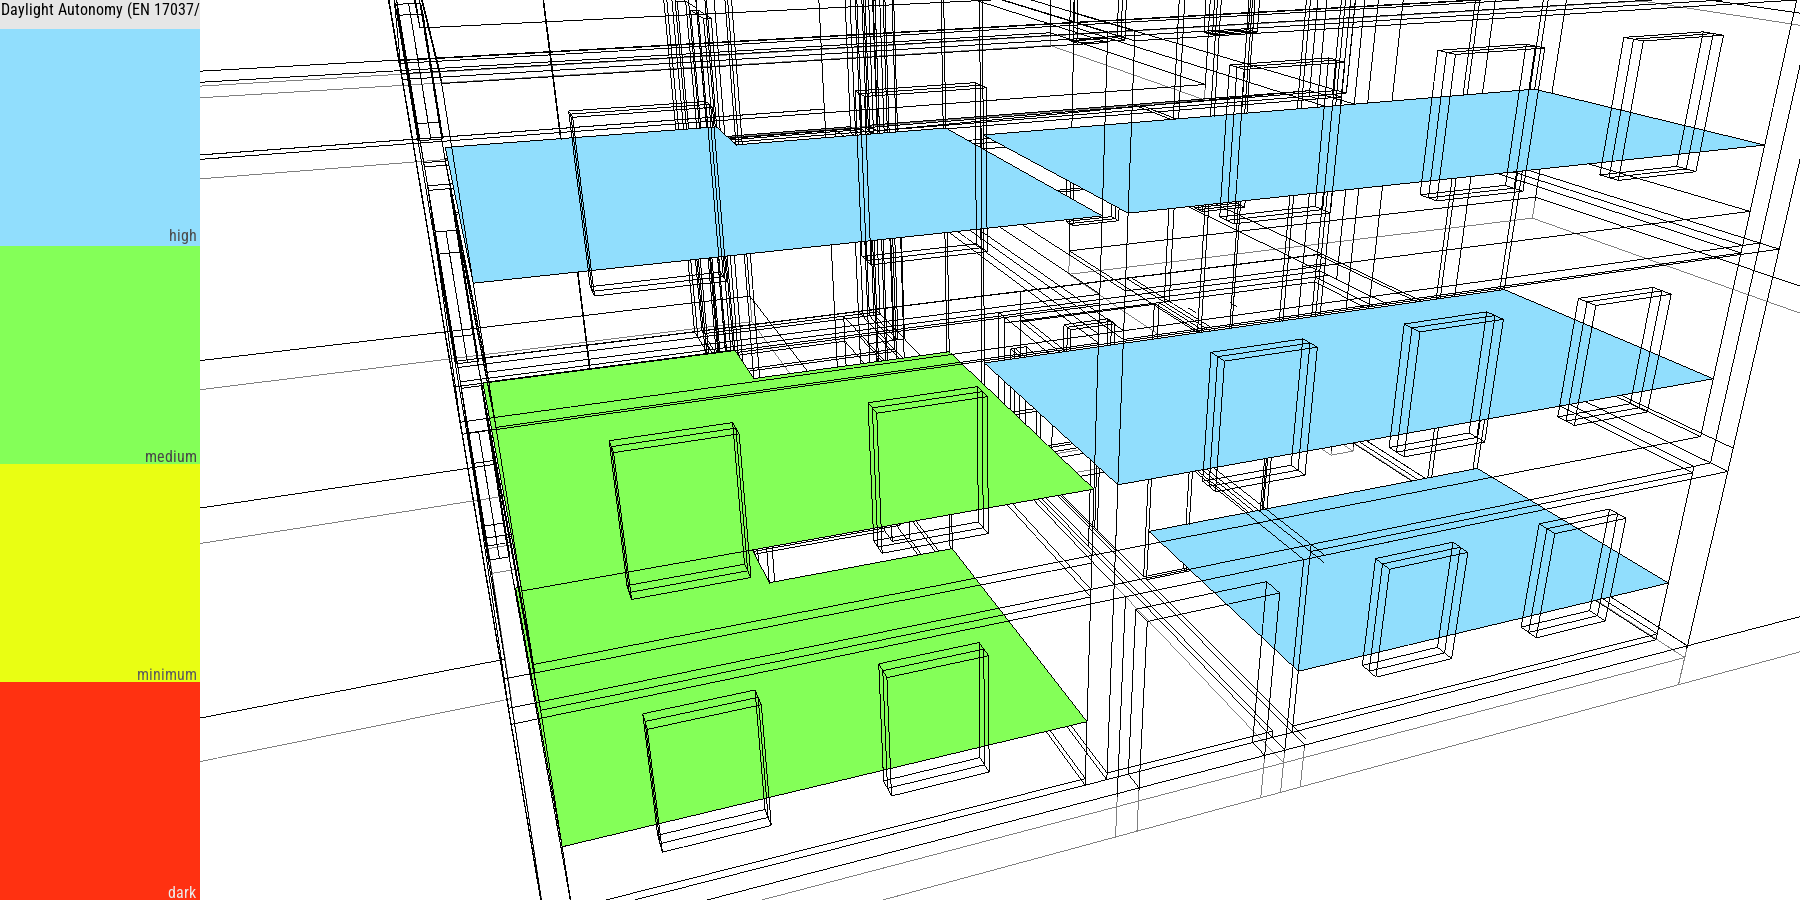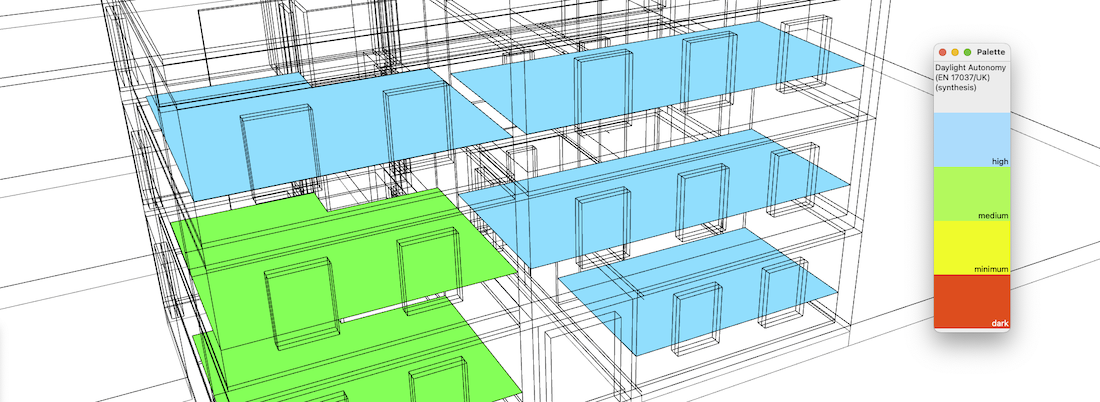
The EN 17037 standard (in UK: BS EN 17037:2018 Daylight in buildings) proposes in paragraph B.3.3 a “method 2” for measuring the amount of natural light in a space. The BS EN 17037:2018 version constains a "National Annex NA (informative)" with "Further recommendations and data for daylight provision in the UK and Channel Islands"
This extension implements the UK annex variant in addition to the core EN 17037 standard:
As this computation is based on the same process as the others daylight autonomy calculations in DL-Light, we recommend that you get familiar with daylight autonomy calculations.

Open the SketchUp model. Follow recommendations to prepare your model for DL-Light calculations.
Open DaylightAutonomy (EN 17037/UK) dialog from toolbar
![]() or menu option
Extensions -> De Luminae -> DaylightAutonomy (EN 17037/UK) ->
Activate extension
and enter the parameters of the calculation.
or menu option
Extensions -> De Luminae -> DaylightAutonomy (EN 17037/UK) ->
Activate extension
and enter the parameters of the calculation.
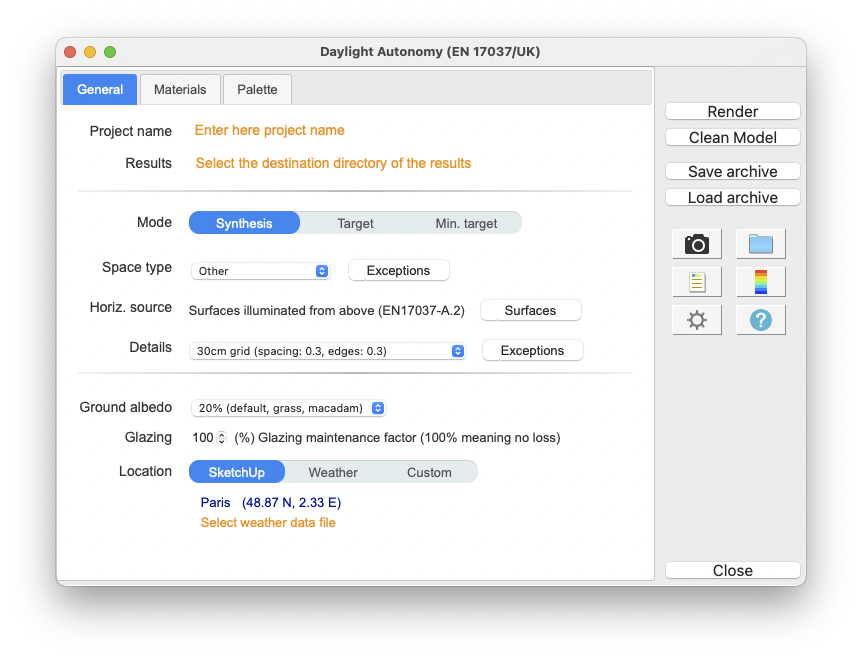
Fields description:
Project name - The project name is used during export and for output filename generation. The SketchUp model name is used by default.
Results - The directory where
model will be exported for calculation.
When calculation is started the model geometry and the resulting
files will be saved in
daylightautonomy_17037uk_output
subdirectory.
For SketchUp projects stored on network disk (Windows), see see
Work on a copy of the model.
Mode - Calculation mode selection:
Space type - Selection of space type to calculate:
For "UK Annex", the 3 types are Bedroom, Living room, and Kitchen. The type Other follows the core EN17037 standard regarding light thresholds.
The selected space type applies by default to all spaces in the model. To give a different type to a particular space, click on the "Exceptions" button to the right of the list, select a surface of the model, and choose the type of specific space for that area.
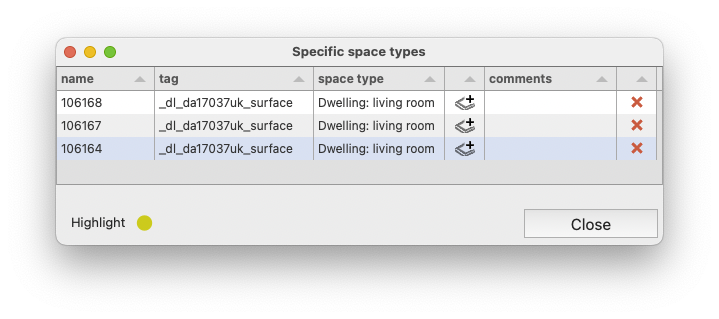
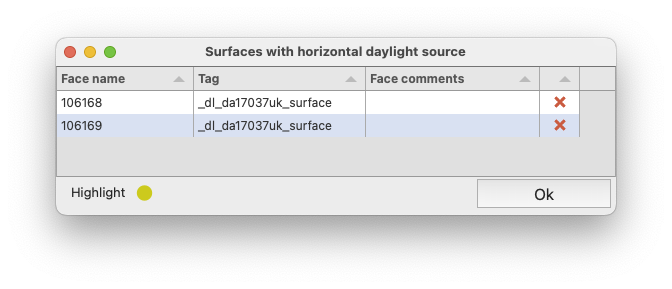
Horizontal source - Selection of surfaces whose illumination is mainly due to a horizontal light source. The "Surfaces" button opens a window displaying the list of horizontally lit surfaces. Click on a surface of the model to add it to the list, click on the red cross to remove it.
Only the surfaces of this list have the horizontal lighting criterion. The surfaces selected for the calculation and not listed in this group are considered as lit by a vertical light source (general case).
Details - - The default grid is a 30cm grid with an edge distance of 30cm, as recommended by the BRE good practice guide "BR209_V6". The EN 17037 standard requires a specific grid (available as EN 17037 in the dropdown list), but we follow here the BRE recommandation.
DL-Light allows to choose:
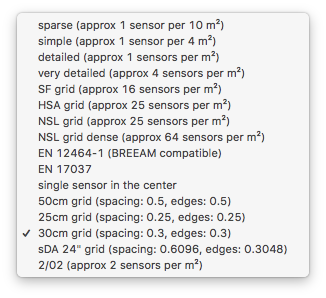
See sensors selection for more information on the choices of proposed sensors.
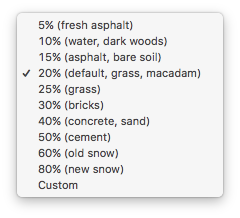
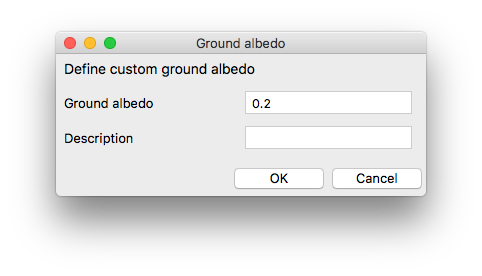
Ground albedo - Reflection factor of the ground. Value can be selected from drop-down list or defined custom value in next dialog.
Location - Building location coordinates. Location can be based on SketchUp model location, current Weather file location or be Custom. Below is dialog for Custom location definition.
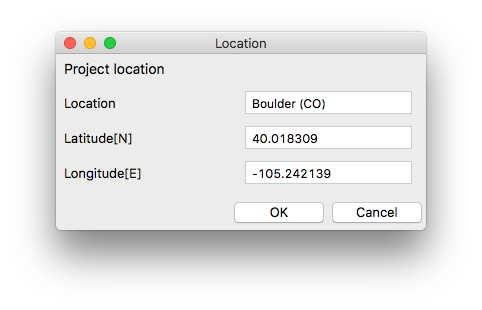
Glazing - Glazing maintenance factor. The "guide to good practice" from BRE details the conditions under which a maintenance factor must be applied to the glazing. The precise calculation requires defining specific materials for the different glazing configurations. The parameter defined here allows a first rough evaluation by applying the same factor to all the glazings of the SketchUp model.
Location - Building location coordinates. Location can be based on SketchUp model location, current Weather file location or be Custom. Below is dialog for Custom location definition.

Weather - Select annual weather file for the building location in Energy Plus weather file format. The weather file can be selected in the list provided by DL-Light or downloaded from Internet. See page Weather data.
Define materials characheristics.
Since calculation is done with validated Radiance tools it is necessary to 'attach' physically based material to each layer in SketchUp. Note that materials should be defined with their solar reflectance and transmittance.
The tab to choose materials:
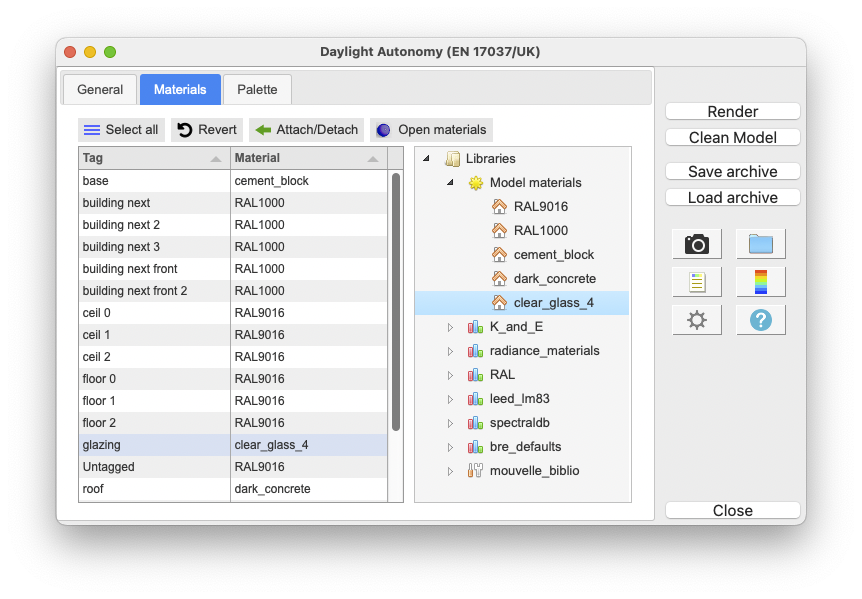
Materials panel consists of two main parts:
To attach a material, select in the table tags (layers) and either
double-click on the chosen material in the tree or select the material
in the tree and press
Attach/Detach button.
To detach from the tag(s), select it and click
Attach/Detach
button.
To revert all tags to previous state press
Revert button.
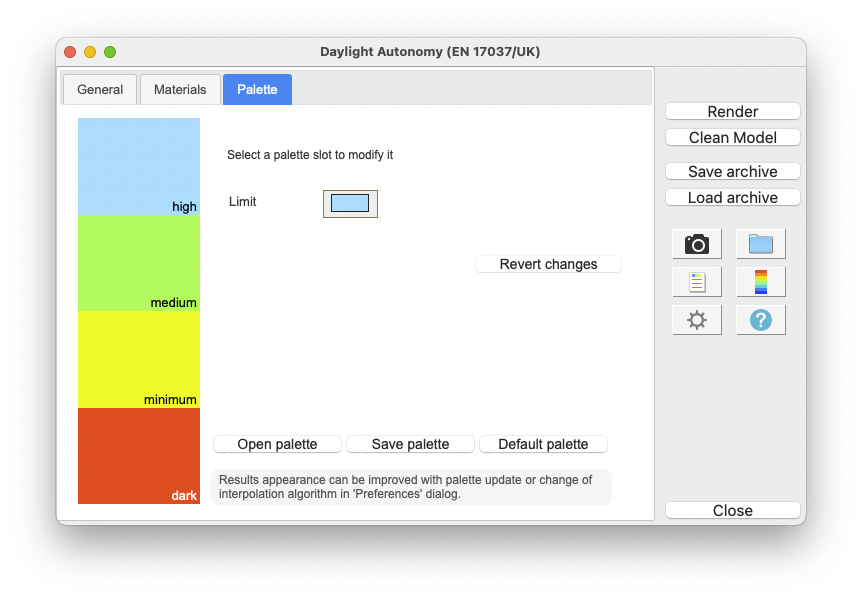
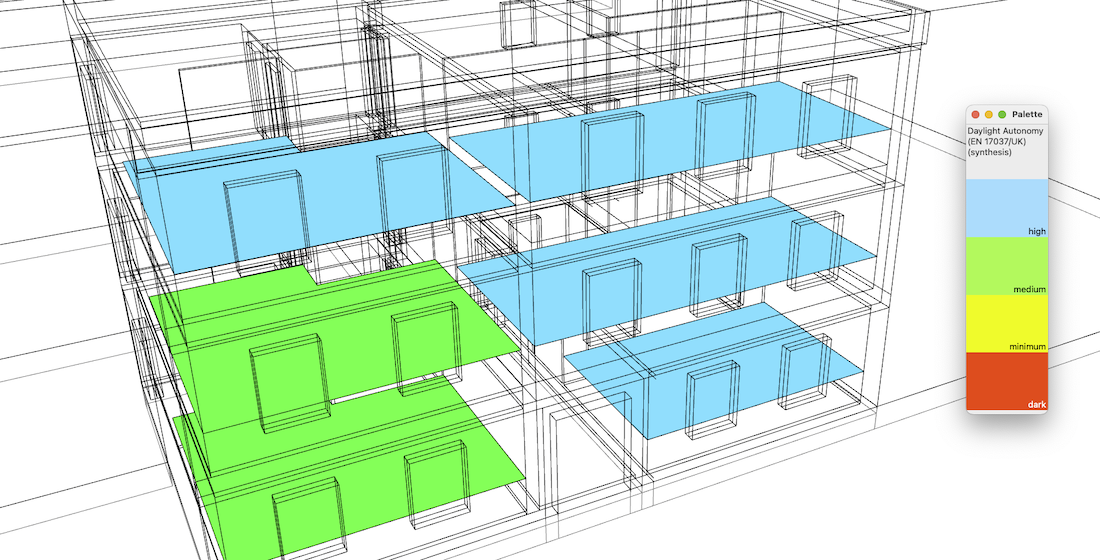
The palette of false colors uses the thresholds of the standard. It is possible to change the different colors.
After all data are entered in dialog, select one or few surfaces and
press Render or
 button.
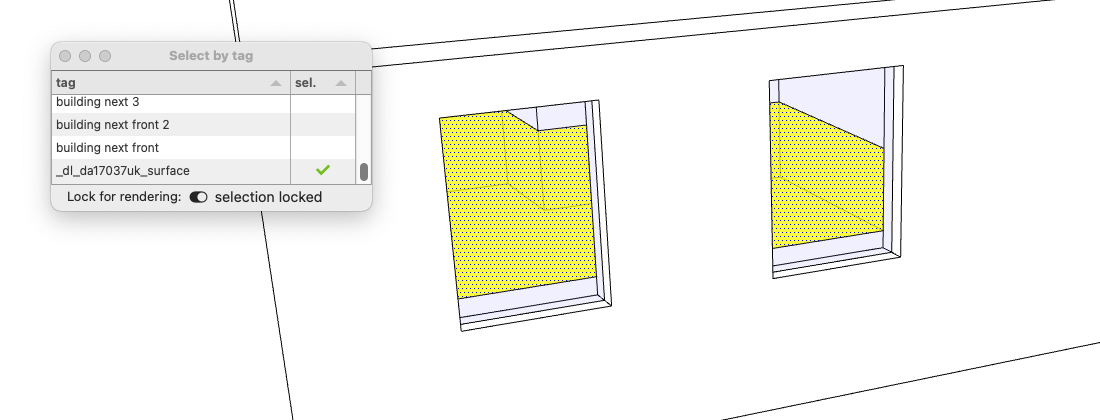
As the glazing is kept for this calculation, it may be practical to
use the DL-Light select by tag dialog
 to select the areas to be calculated.
Calculation time depends on number of selected surfaces, level of sensors details and model complexity.
When results are imported, selected surface will have appropriate false colors and Palette is opened.
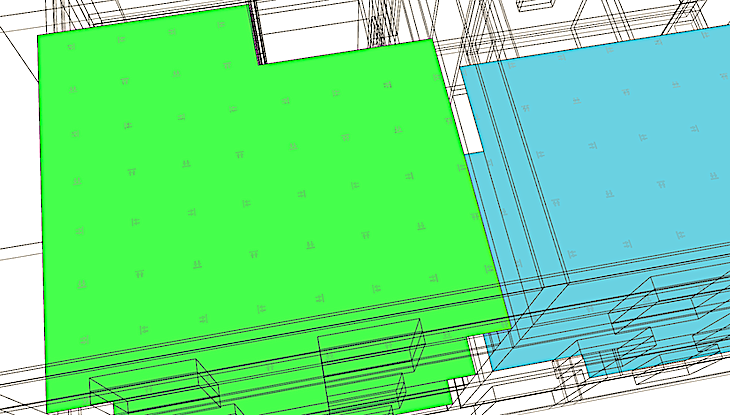
Surfaces illuminated primarily by a horizontal light source receive
this watermark:

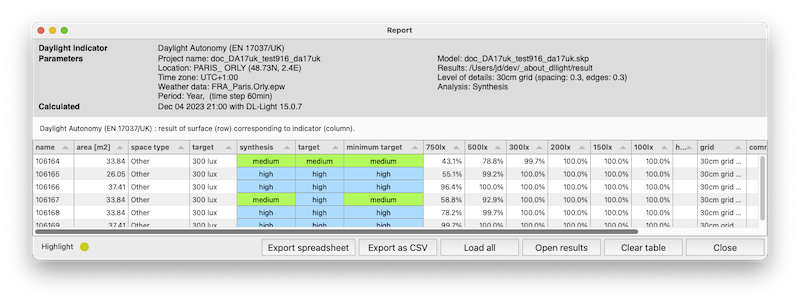
Results analysis.
The Report dialog
 displays the distribution of results over current palette, and
calculation input parameters.
Presentation of the report for the modes synthesis, target and minimum target:
Show/Hide Sensors and Values
![]() explores results directly in the model for each sensor.
explores results directly in the model for each sensor.

For further calculations in the same model:
 .
.
DL-Light uses a calculation cache algorithm. It automatically detects if a surface requires recalculation or if a previous result can be reused. By default, the cache keeps the information of the last 10 calculations (value configurable in the preferences).
Archiving results:
DL-Light allows to archive all the results of a calculation: reports, textures and calculation steps (exported Radiance model, weather file, ...). This archive can be reloaded on the model, subject to using exactly the same model as during the calculation.
See the page Archiving results for more informations about this feature.
See the page Comparison of results for more informations about comparison of archives.
Snapshots:
Current SketchUp model view with imported results can be exported with
palette
 or without palette
 to png format. To explore created images user can open folder where
they are saved
 .
.
This option is not supported in trial version of the extension (see
license information).
